


Interior panels
Now it was insulted I couldn’t really leave the van as a shell! New side panels and door panels were brought from the online auction site, and these were covered in a grey vinyl.


Some of the panels were modified. For example, plug sockets were added into this panel (more to come about this later).


As previously mentioned, speakers were added into the back, so the rear panels needed to be modified to take said speakers. Spacer rings had to be used as there wasn’t the depth behind the panels for them to sit flush.
Something that people forget when replacing these panels is the small vent down the bottom. These are normally just a grid of drilled holes in the panels. To make it look nicer I used a washing machine exhaust pipe cover grill (or whatever there called!)


I also made a new strip for the roof as there was a gap after removing the bulkhead.


Rear seat
The plan for the van was always to fit a double rear seat as I wanted to be able to transport more people. However, I wanted a factory one so it could be easily removed if I wanted to take big
loads in the back. Or put an airbed up to camp on!! I found one at a bargain price on FB marketplace.

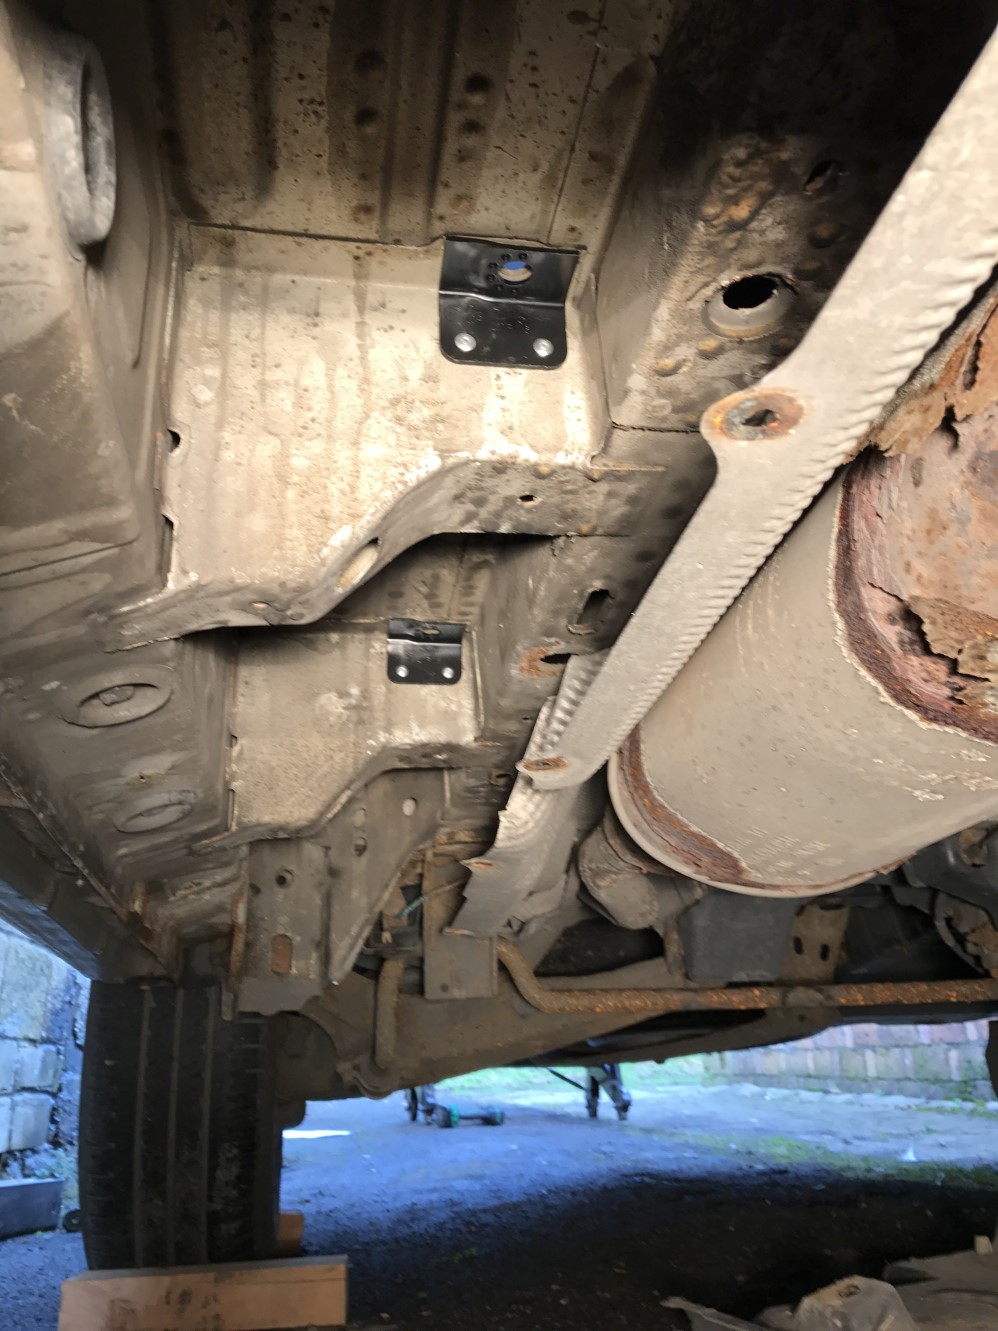
I wanted to fit the seat properly and not just use self tapper through the floor like I’ve seen other ‘conversions’ done. Therefore, the undertrays were removed so the mounting holes could be drilled. Kindly Volkswagen already mark the locations of the holes on the frames so once the trays were off it was a fairly easy job. To do it all correctly genuine mount supports brackets were installed.


Next up holes were cut in the floor (this will be used as a template late when I put the actual floor in), and the quick release seat base brackets were fitted.


And the rear seat was all fitted.


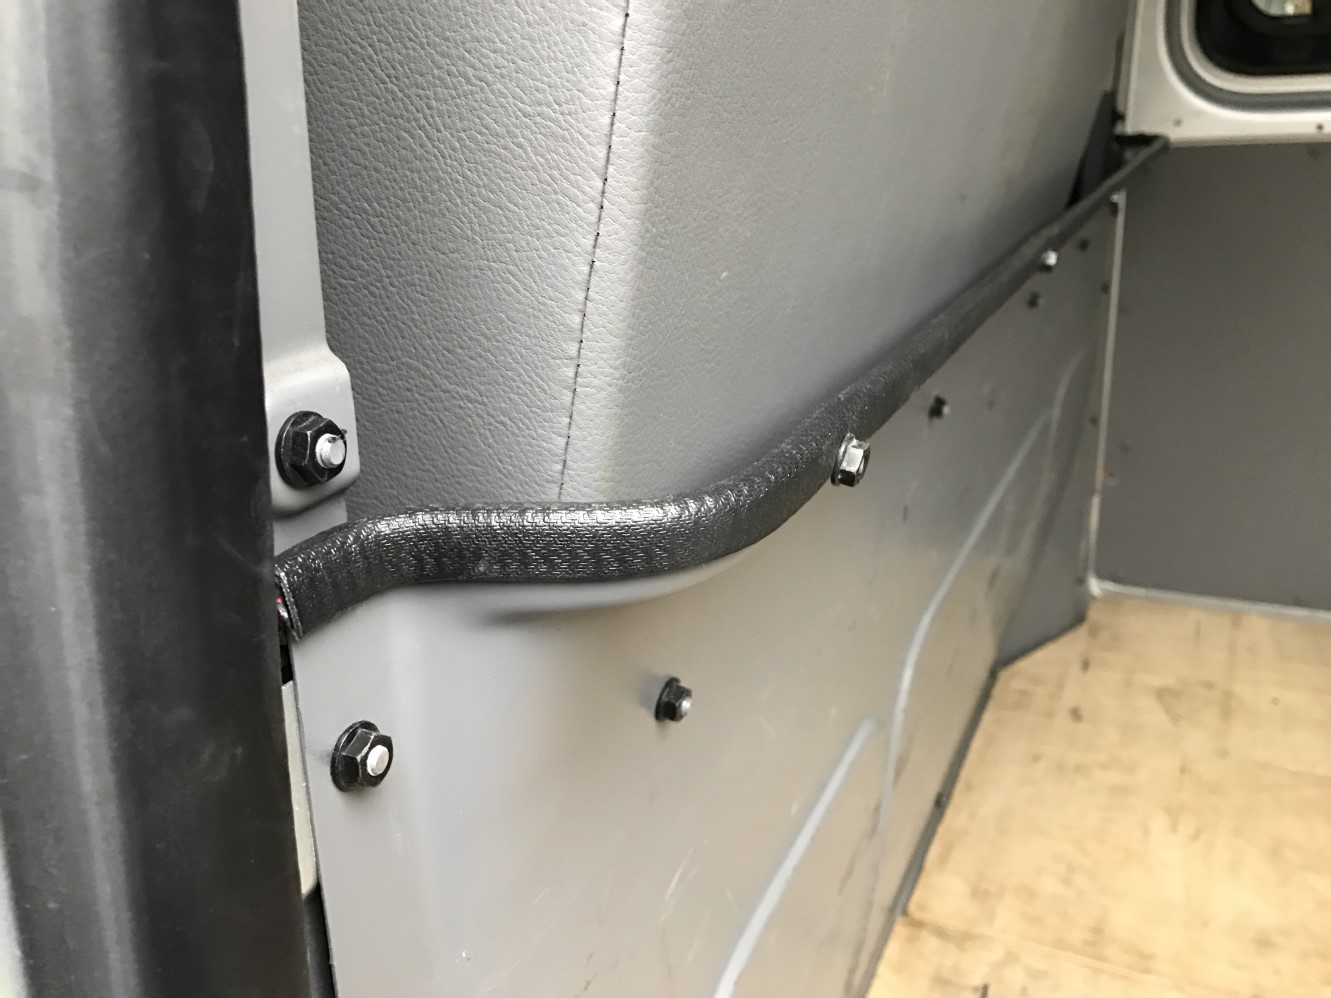
Well almost all fitted! I needed to install a seatbelt for the driver’s side seat. Mounting holes were drilled in the ‘c’ pillar (I’m just guessing that it’s called a ‘c’ pillar!) of the van frame, and a support bracket was slid up the pillar and fitted with rivets. Finally the seatbelt and reel was installed.


Floor
When fitting the floor, a lot of people just self-tapper it down. I’m not a fan of that method as it encourages rust around the screw holes. Therefore, the first thing I did was to bond in the
world’s most over complicated set of wood battens to the van floor to allow me to screw the wooden floor panel to these.
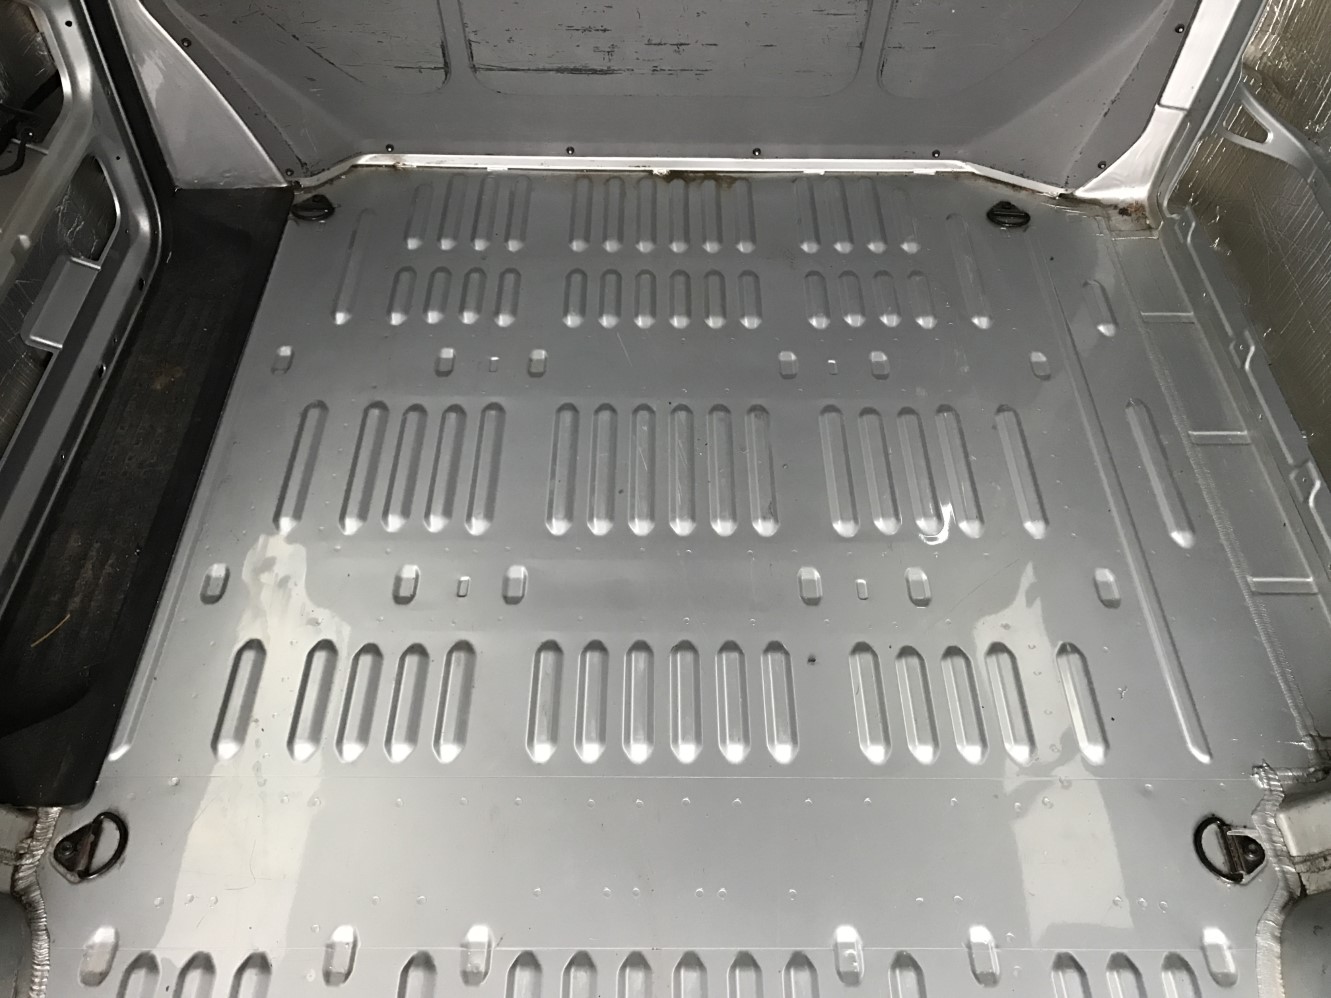

Holes were cut into the new floor for the seat mounts and tie down points and the screw holes were pre-drilled. Finally, to keep the van toasty the floor was lined with insulation before it was screwed down.


And finally, the carpet was glued in using spray adhesive. Starting to look like a posh van!


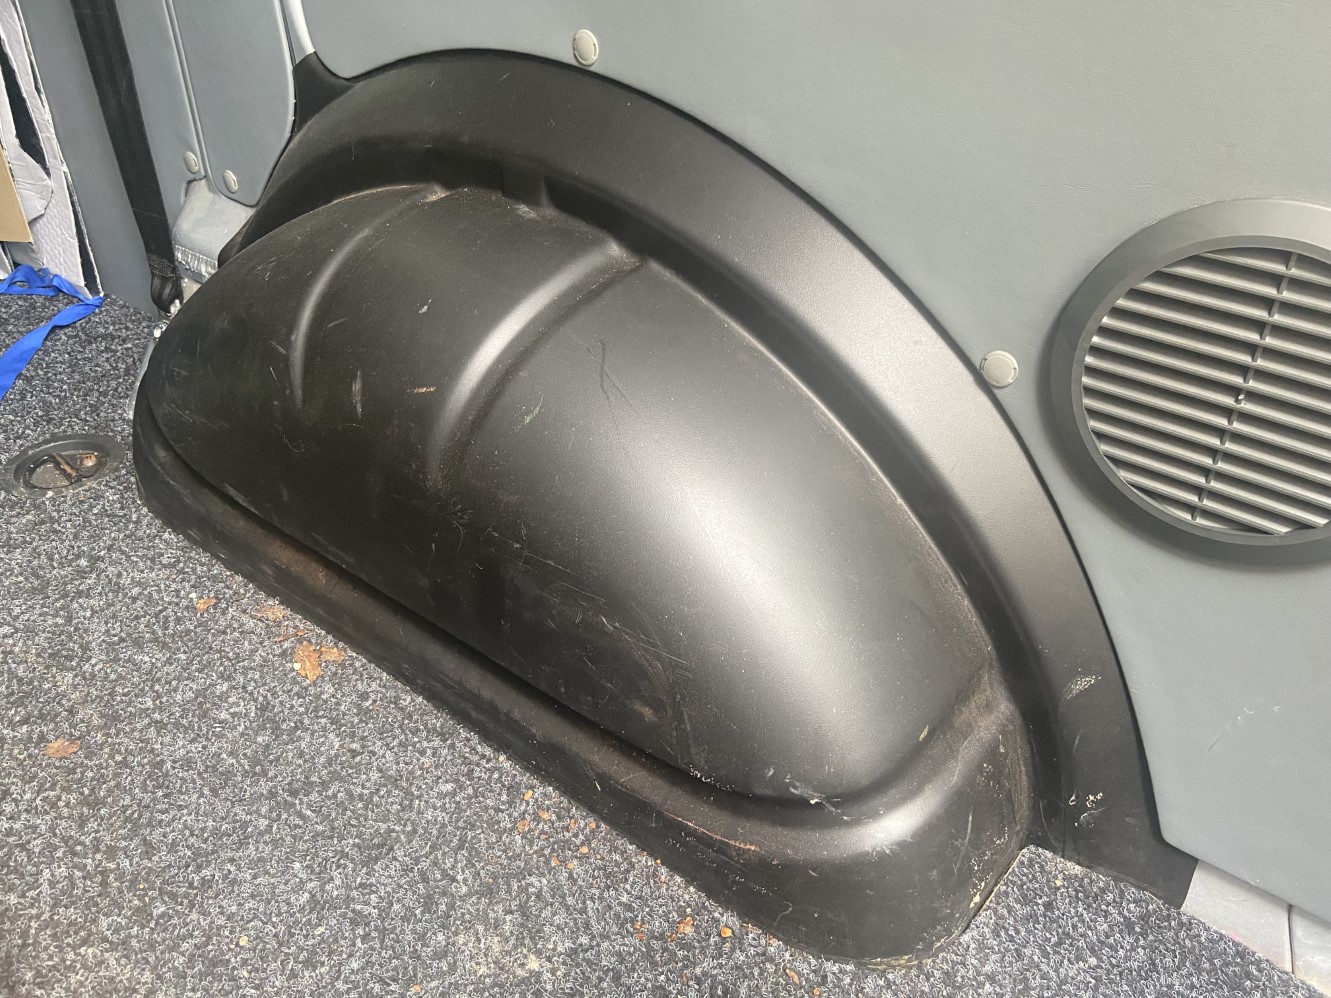
It was then on to the finishing touches. Inner arch and step covers were fitted and the tie down points installed.


240V hook up
I don’t sleep in the van often, but the places where I do quite often have the option of 240v hook up (i.e., Santa Pod pits). In the past I would just run an extension lead into the van, but I
wanted to make it a bit more convenient.
Therefore, I put a hook up point in the engine bay. The bonnet can easily be closed with the cable in it.


The hook up was connected to a small consumer unit which was fitted underneath the passenger seat. A 240v to 12v power adaptor was added for running a second set of lights in the rear of the van which would not drain the battery.


240v plug sockets were fitted to the front and rear interior panels in the back of the van.

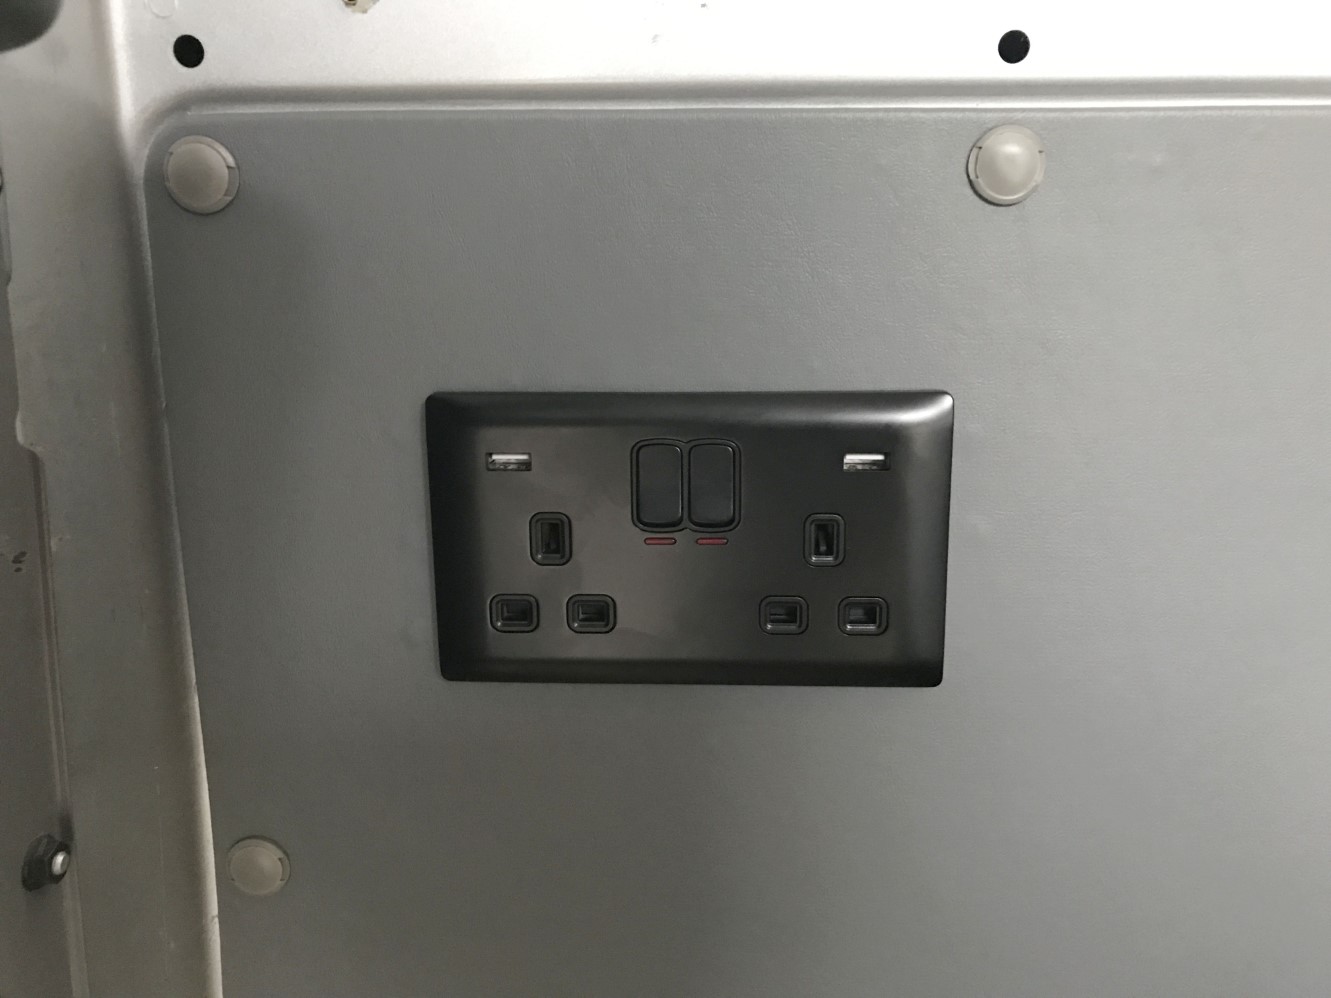
As mentioned previously extra lights were fitted into the back of the van which ran off the 240v supply (dropped down to 12v).


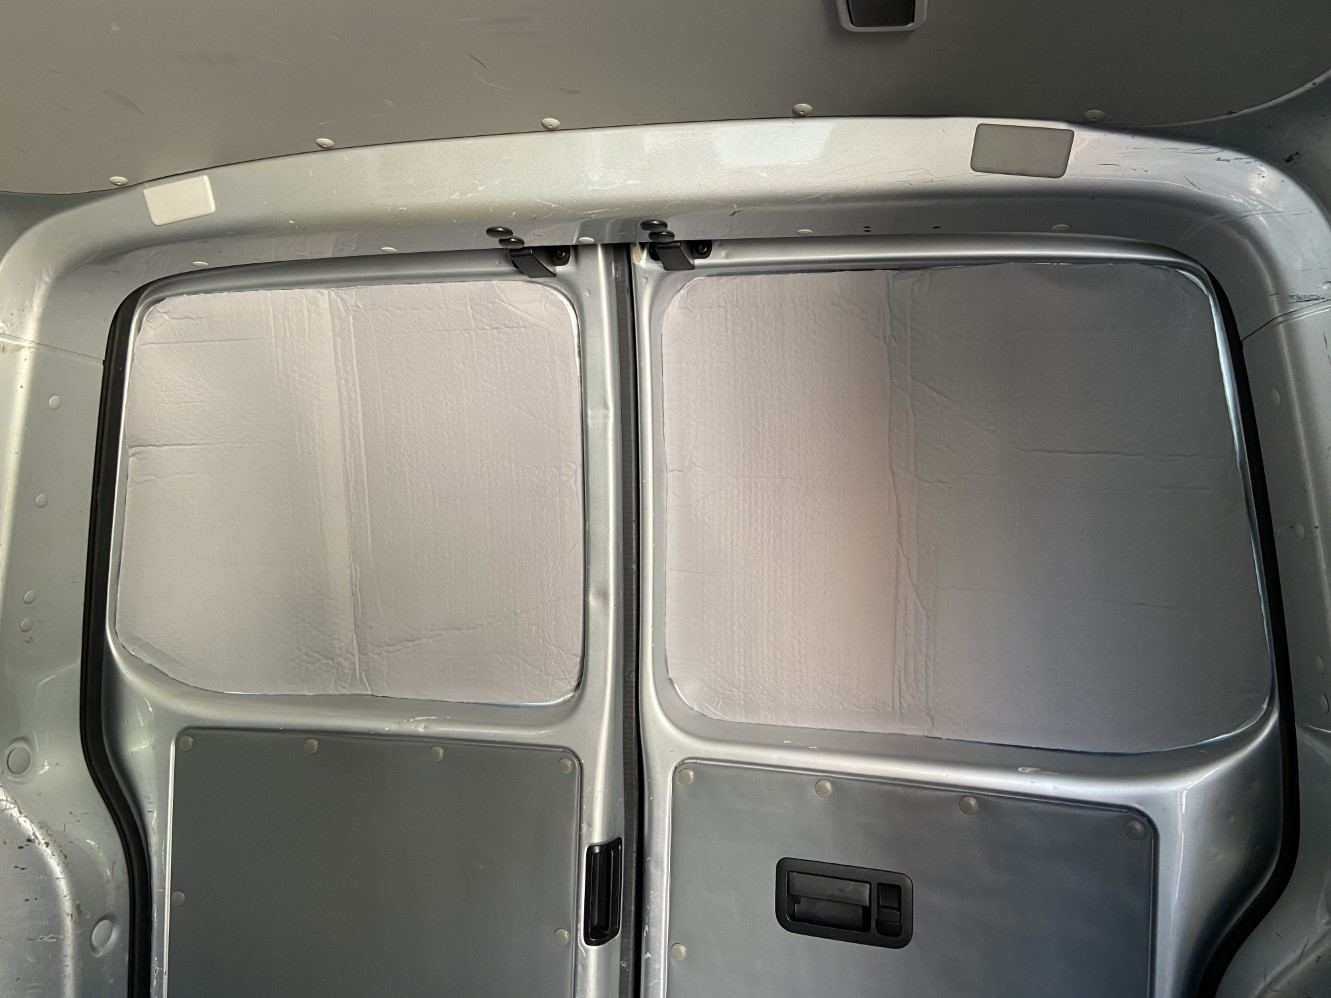
Curtains and cab divider
I not a fan of permanently fixed in curtains as they take part of the window vision away, and I also think they just look a bit rubbish!
Therefore, I made my own magnetic versions from some thin building insulation material, some foil tape, and some magnets I brought online.


Other stuff
I always think it’s a good idea to have a fire extinguisher in a van (nothing to do with my cooking!). I mounted this in the corner behind the
driver’s seat using a bit of the bottom bulkhead I cut off. Worked well with a bit of trim to protect the sharp edges.


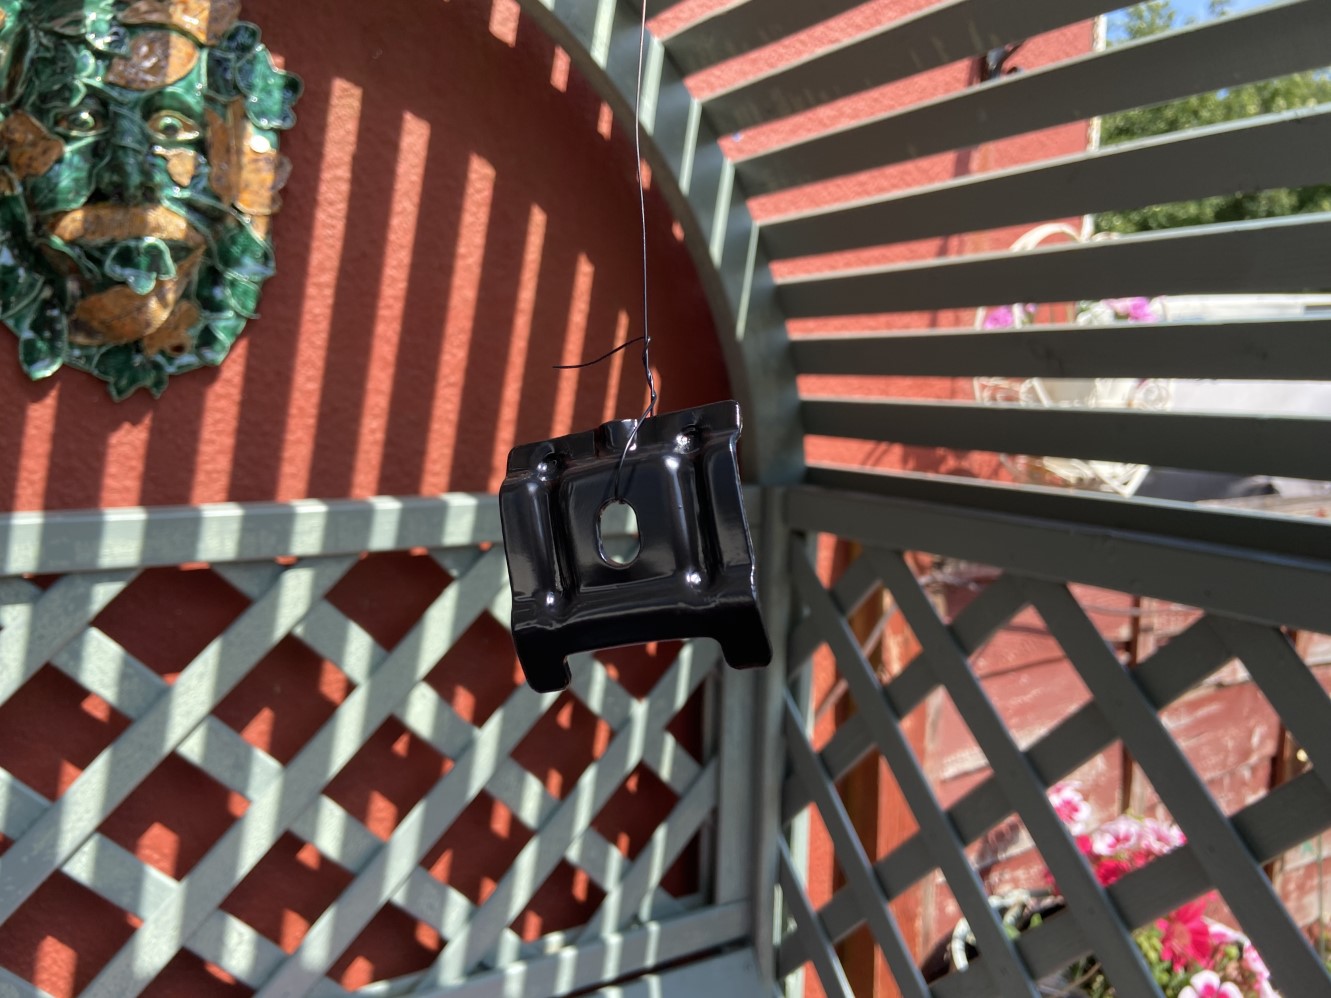
There’s also a lot of random holes on the bodywork of the rear of the van. Fir tree style plugs were used to neaten these up.


Bike rack modification
Please don’t hate me, but I’m one of those bicycle lycra clad bell ends!! I hate myself enough for it!! In my defence I only started with the biking
as I was talked into doing a half Ironman, and biking (swimming and running) is essential part of it. Thus, I needed some way to transport my
overpriced bike around!
So here’s what a came up with, a pair of bracket which are removable (with a allen key) that allows me to secure the bike in the van. I brought the front fork brackets but made the rear wheel bracket from scrap metal and some straps. Worked out alright.